Unity Hubは2.1.0からプレビュー版としてCLI経由で利用できます。 ただリリースノートでは下図のようにほぼ詳細が記載されていません。

こちらの利用方法について簡単にメモとして記載しておきます。動作チェックは下記のとおりです。
- macOS Catalina (10.15.6)
- Unity Hub 2.4.1
Unity HubのCLI起動
Mac標準で、Unity Hubは下記にインストールされます。
/Applications/Unity\ Hub.app/Contents/MacOS/Unity\ Hub これを--headless引数をつけて起動することで、CLI経由でHubを操作できます。試しにヘルプを表示してみます。下記コマンドを実行することでヘルプを確認できます。
$ /Applications/Unity\ Hub.app/Contents/MacOS/Unity\ Hub -- --headless help
Commands:
	editors
		description: list the releases and installed editors
		alias: e
		example: Unity\ Hub.app/Contents/MacOS/Unity\ Hub -- --headless editors -r
		options:
			[default]		list of available releases and installed editors on your machine combined
			--releases|-r 	only list of available releases promoted by Unity
			--installed|-i 	only list of installed editors on your machine
...続く
CLIは下記のように利用します。
/path/to/Unity\ Hub -- --headless {command} [options]{command}には現在 editors、install-path、install、install-modulesが利用できます。それぞれ順に説明します。
editors: エディター一覧の確認方法
editorsは、インストール済みのエディターや利用可能なエディター一覧を確認するコマンドです。
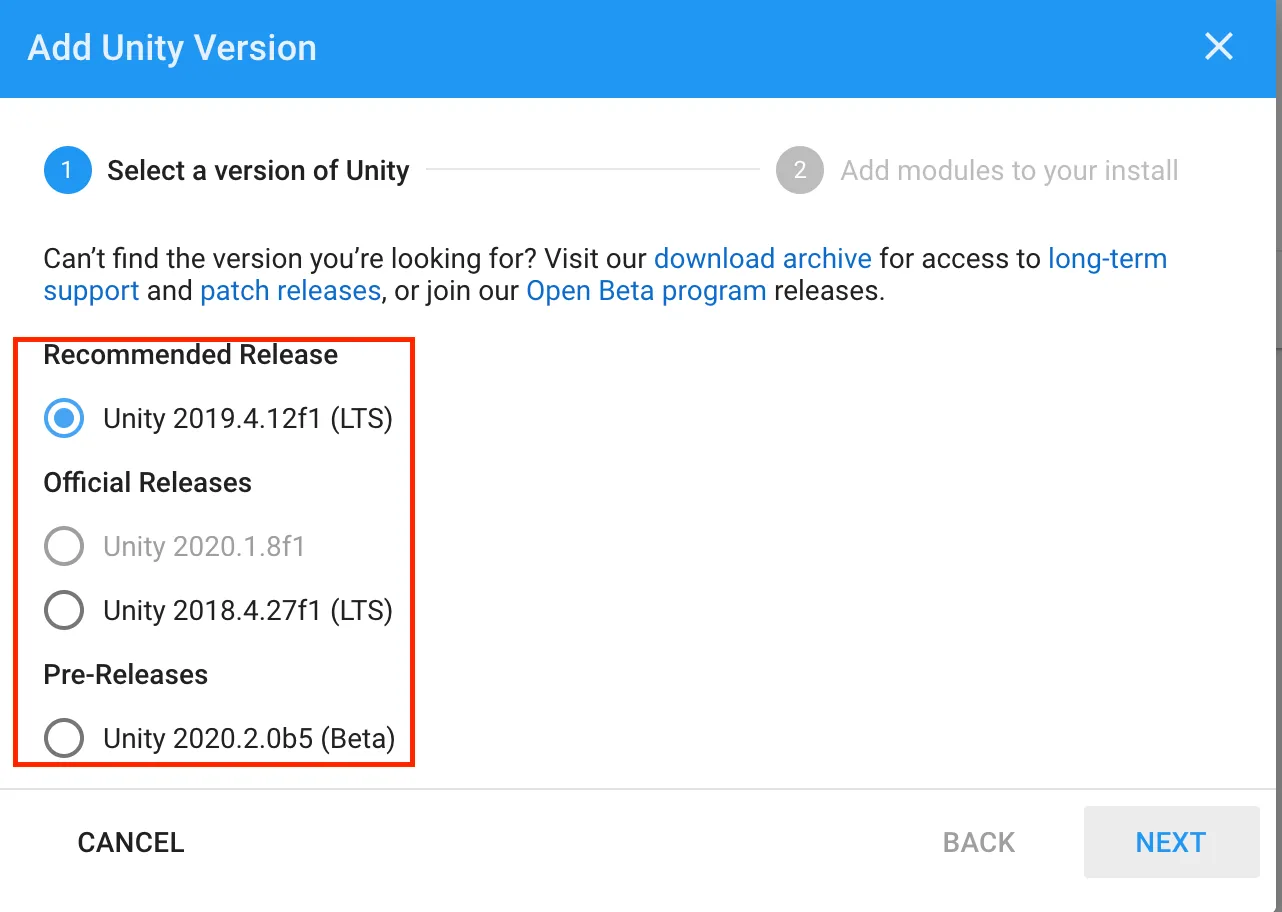
--releasesまたは-rをオプションとして指定するとリリースされているUnityエディターのバージョン(の最新の一部?)を一覧表示します。この一覧はおそらくGUIの下図赤枠のバージョン一覧かと思います。
--installedまたは-iは操作しているインストール済みのエディターを一覧表示します。
また、指定しない場合は両方一覧表示します。
# リリース済み一覧表示
$ /Applications/Unity\ Hub.app/Contents/MacOS/Unity\ Hub  -- --headless editors --releases
2018.4.27f1
2019.4.12f1
2020.1.8f1
2020.2.0b5

# インストール済み一覧表示
$ /Applications/Unity\ Hub.app/Contents/MacOS/Unity\ Hub  -- --headless editors --installed
2019.3.12f1 , installed at /Applications/Unity/Hub/Editor/2019.3.12f1/Unity.app
2019.4.11f1 , installed at /Applications/Unity/Hub/Editor/2019.4.11f1/Unity.appinstall-path: Unityのインストールパスの確認・設定
install-pathは、Unityエディターをインストールするパスを指定または設定するためのコマンドです。
$ /Applications/Unity\ Hub.app/Contents/MacOS/Unity\ Hub -- --headless install-path -s /Users/yucchiy/UnityEditor/
# 以降Unityが/Users/yucchiy/UnityEditor/にインストールされる

$ /Applications/Unity\ Hub.app/Contents/MacOS/Unity\ Hub -- --headless install-path  --get
/Users/yucchiy/UnityEditor/
ちなみにこの値が設定されていない場合は、デフォルトパスにインストールされます。筆者の環境では下記にインストールされます。
/Applications/Unity/Hub/Editor/install: Unityエディターのインストール
installは、Unityエディターをインストールするためのコマンドです。
--versionでインストールするバージョンを指定します。これは必須で設定する必要があります。
--moduleでは、追加でインストールしたいモジュールを指定します。複数ある場合は --module mod1 --module mod2のように指定します。モジュールには下記があります。(:の右側の文字列を指定します。)
Documentation: documentation
Standard Assets: standardassets
Example Project: example
Android Build Support: android
iOS Build Support: ios
tvOS Build Support: appletv
Linux Build Support: linux-mono
SamsungTV Build Support: samsung
Tizen Build Support: tizen
WebGL Build Support: webgl
Windows Build Support: windows
Facebook Gameroom Build Support: facebook-games
MonoDevelop / Unity Debugger: monodevelop
Vuforia Augmented Reality Support: vuforia-ar
Language packs: language-ja, language-ko, language-zh-cn, language-zh-hant, language-zh-hans
Mac Build Support (IL2CPP): mac-il2cpp
Windows Build Support (Mono): windows-mono
Android SDK & NDK Tools: android-sdk-ndk-tools
OpenJDK: android-open-jdk
Lumin OS (Magic Leap) Build Support: lumin--childModulesでは上記パッケージをインストールする際に自動で依存パッケージをインストールします。基本ONでもいいかもしれません。
2020.1.8f1をiOSとAndroidのPlayback Engineモジュールつきでインストールするのは下記のとおりです。
$ /Applications/Unity\ Hub.app/Contents/MacOS/Unity\ Hub -- --headless install --version 2020.1.8f1 --module ios --module android --childModulesモジュールのインストールは、後述する install-modules で後から追加インストールすることもできます。
install-modules: モジュールの追加インストール
install-modulesは、インストール済みのエディターに対してモジュールの後からインストールをするコマンドです。
--versionで対象のエディターを指定し、インストールしたいモジュールを--modulesで指定します。こちらは install コマンドと同じです。
2020.1.8f1に追加でDocumentationをインストールするには下記のコマンドを発行します。
$ /Applications/Unity\ Hub.app/Contents/MacOS/Unity\ Hub -- --headless install-modules --version 2020.1.8f1 --module documentationまとめ
Unity HubをCLI経由で利用する方法について説明しました。